Pages

Showing posts with label home decor. Show all posts

Sunday, March 22, 2015

DIY mini succulent garden


Spring has sprung (although now today is rainy...hmmm such is spring I suppose) so the hubby and I decided to bust out our "green" thumbs and do some yard work/ sprucing. At the moment we rent our home so we wanted to make some curb appeal upgrades that we can take with us when we purchase a home of our own! I am all about the succulent craze so I decided to make my own mini potted garden for the porch. 

{to collect: bucket or large pot, cactus mix soil, different varieties of succulents, shovel, gloves}

Make sure to get cactus or succulent mix, it has all the goodies needed for these desert plants!


I had this great vintage FIRE bucket I have been wanting to use for a long time. Once upon a time my mom gifted it to me with a flower display in it...and my black thumb killed it...so I am trying to redeem myself by replanting something that hopefully I won't kill!


Try and plant your largest succulent first so there is room for all the others. I originally planted it right in the middle, thinking there would be ample room on all side for the others, but ended up moving it since the bucket was a little smaller when I started sticking all the plants in. 
make sure to kind of "fluff" out the roots before adding to the pot so they have an opportunity to spread and take root in their new home!
Add all the rest of the succulents...and not the cacti was NOT an easy fellow to work with!! 
use a folded up roll of newspaper or really thick gardening gloves to transfer a cacti from its small pot to its new home. These guys are NOT afraid to bite!

With anything make sure to use common sense and do not place a display with a sharp cactus near any place where a small child or animal can get into it. The cactus thorns are really, really sharp and have something in them that make their puncture sites itchy! 
No fun for a baby or animal!


I was very happy with the way my little bucket turned out and it has made our porch more homey and pulled together!

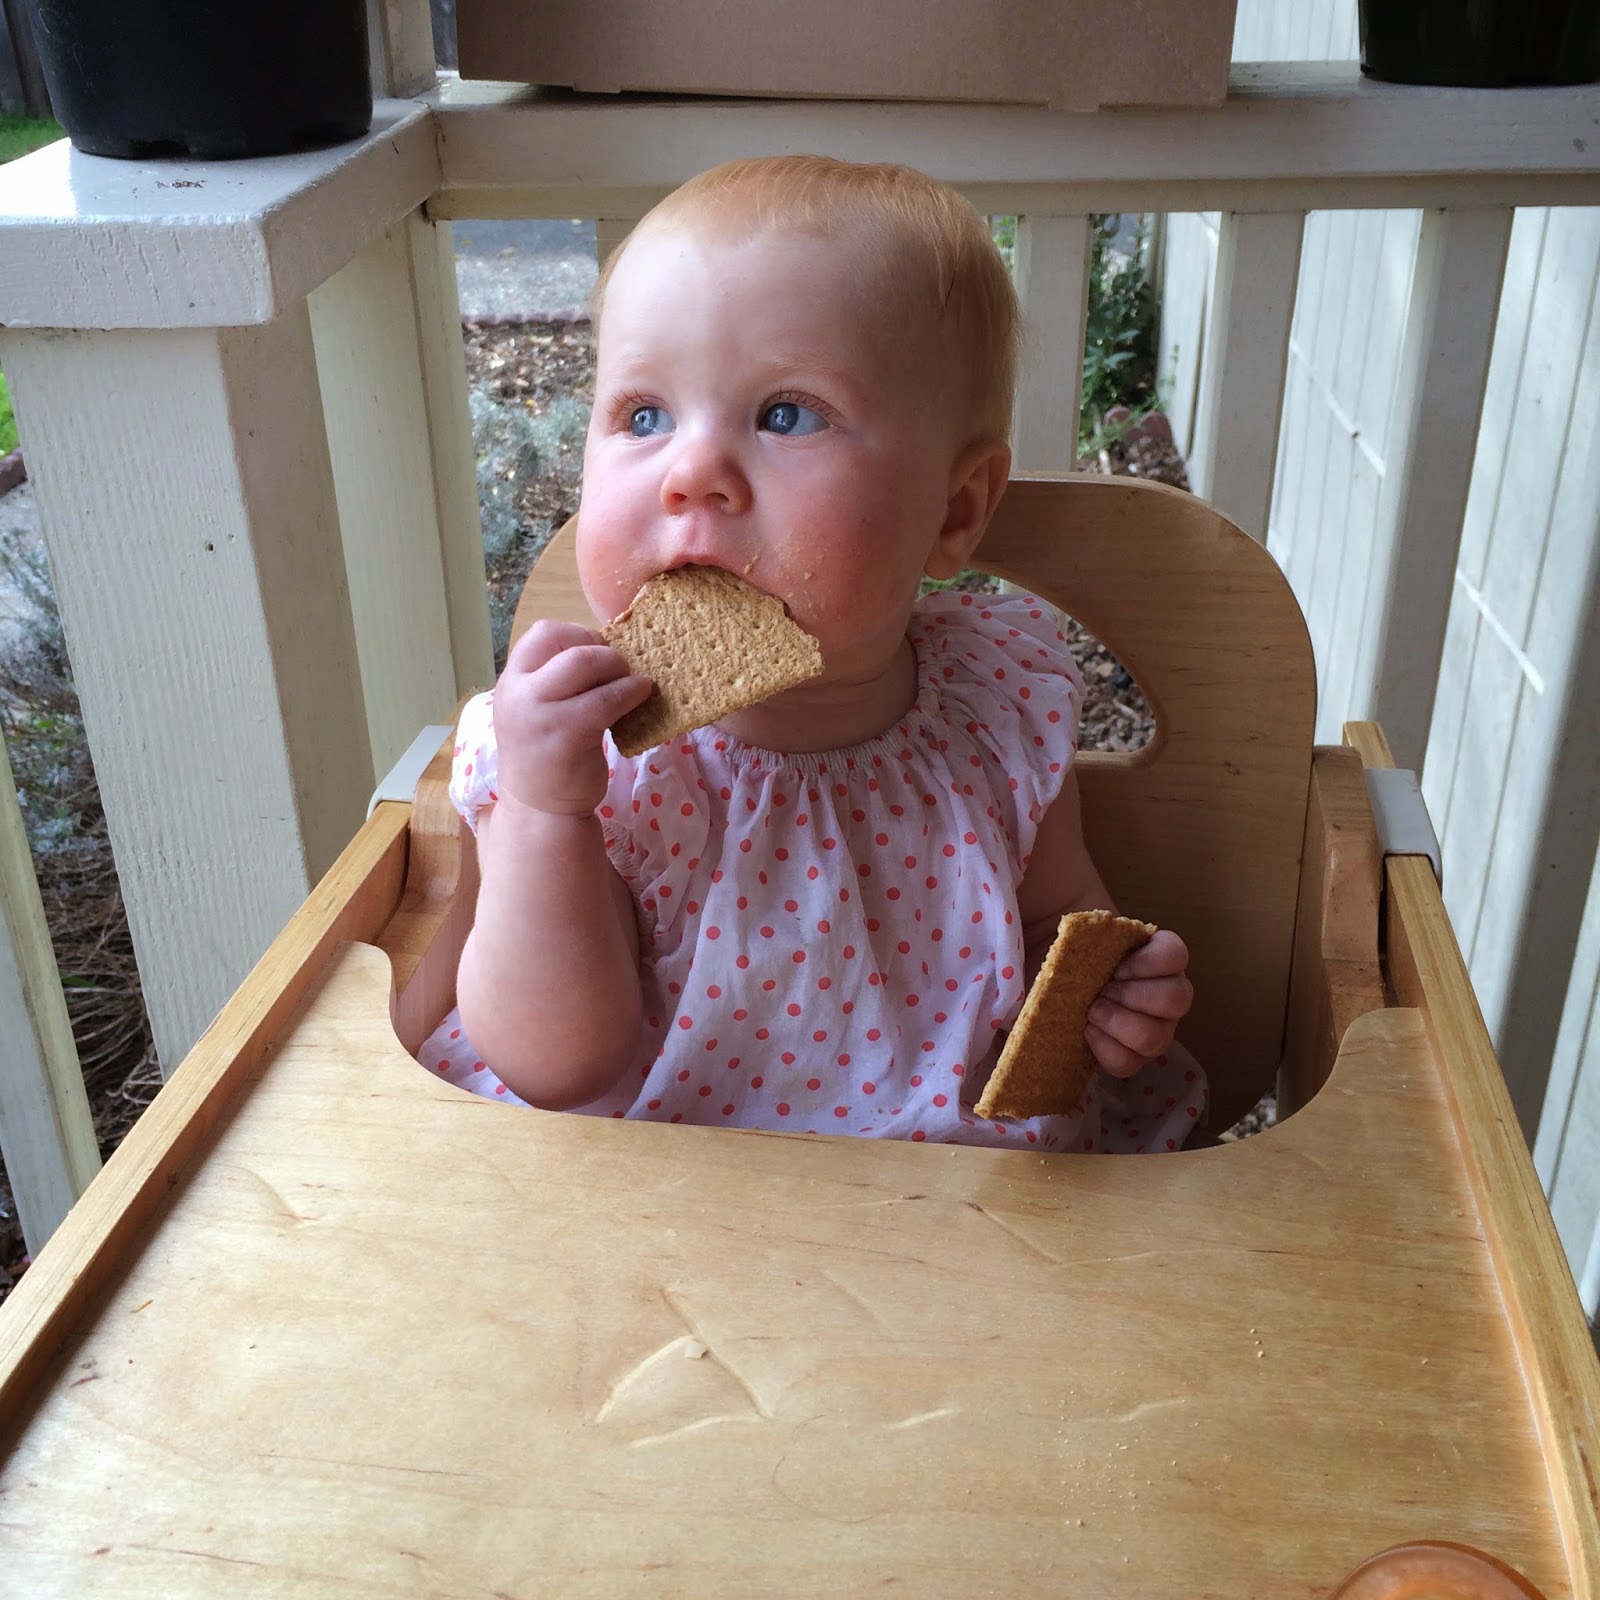
I only had to bribe this little one with 2 graham cracker halves to be patient while I did my planting too
so score!!

Friday, October 4, 2013

the essential bar cart

About 3 years ago my mother brought me this adorable little yellow cart she had found at a school estate sale - she is a thrift hound.

For a long time, ever since we got it actually, our teeny-tiny dish washer has been sitting on top of it with various storage baskets on the other 2 shelves.

I have always wanted to create a bar cart out of it but up until now I didn't have anything else so oddly shaped to fit the dishwasher!! So this weekend I moved the coffee bar to the laundry nook,  the cart to the dinning room, and a rolling cart from outside to the coffee nook. Haha. There was a lot of mess + chaos+ frustrated husband comments this weekend. Yay! But now we have a cute bar cart...and guess what? The hubby loves it!

So here is what I believe you need for the perfect bar cart!

{Alcohol, mixers, & bar tools on top}
{Glassware in the middle}
{Cocktail party supplies on bottom}

There are some 2 shelved carts out there but I really like having that nice middle shelf as well for glassware so I don't have to hop into the kitchen to find cups when mixing drinks!

 Here she is loaded up and ready for after dinner drinks!!
I have been collecting decanters to put the booze into so it looks more MadMen esque but so far I have only found two that I fell in love with that weren't moldy on the inside. : (

The book we get most of our recipes from called The Ultimate Bar Book which you can purchase on Amazon HERE

We were gifted the 5 piece Twig bar tool for our wedding or Christmas? from World Market and we love it! It is so classy lookin' and has all the little tools we need from a jigger, to a bottle opener and a small knife for citrus and garnishes. To make it more visually appealing I added a small metal basket for the mixed drink add-ins. I don't keep them on the bar at all times, but at a cocktail party or if friends are over for drinks I also have a small bowl for lemons and limes.


The middle section is for glassware. We were also gifted these neat old school "dewey decimal system" drawers from a friend for one of my bridal showers. I love how the classes fit perfectly in them and I can slide out the drawers when I need a cup!


The bottom shelf is basically just cocktail party storage - cocktail napkins, small appetizer plates, etc. The glass jars just, again, give a different visually appealing element.


We love our little bar cart and can't wait to have friends over this week to try it out!

Here is my {small} list of what you need to stock a bar cart:
Spirits:
  1. Bourbon
  2. Tequila
  3. Rum
  4. Gin
  5. Vodka
  6. Scotch (optional)
Mix-ins:
  1. Club Soda & Tonic water
  2. Bitters
  3. Dry Vermouth
  4. Sweet & Sour
  5. Simple Syrup
  6. Grenadine
Garnishes:
  1. Lemons & Limes
  2. Maraschino cherries
  3. Olives (the spanish green olives for Martinis!) 
  4. Mint 
Of course this list is not exhaustive it just covers the drinks we make over here at the Horton household most often! Stay tuned for a retro 50's drink coming up!


Tuesday, September 17, 2013

stenciled calendar DIY

This project has been in the works for quite sometime. I was tempted to start over or re-do some of it when it smudged or otherwise turned out differently than I expected, but I ended up just leaving it as is. Which I kind of like now. I like that not all the squares are the same size and that there are ink lines on some of the stamped portions. It definitely looks homemade and it is definitely different than what I started out trying to accomplish, but I really like the outcome!


I originally envisioned the calendar just on the wall itself somehow, perhaps with twin or something but then I remembered I have this fab XL clipboard that my ex-roomie Ali from Ballpoint + Pen (from before we were all old married ladies!!) left behind when she moved out years ago! I have always wanted to do something with it so I figured why not make a calendar out of it?


I basically started out cutting and stenciling all the things I would need - days of the week, months, 1-31 number squares. I used Martha Stewart Typewriter Alphabet stencils. These are my favorite stencils to use because they are slightly adhesive so they stick to the paper and you don't get hardly any of that annoying bleeding paint.


I love stenciling so I didn't think it was too bad and I have TERRIBLE handwriting! Haha so I have no choice but to stencil. But I am sure there are ladies out there with amazing cursive or print that could do a way better job free handing it!


I ended up using tiny paper clips to hold all the interchangeable part on. It was the most practical thing I could think of and thought it might add cute element to it as well.

I glued the days of the week directly onto the clipboard, but with hot glue so I can always remove them later if I choose and use the clipboard for something else entirely!!

 Next I hot glued tiny clothespins to the board in (semi) even spacing so that I can swap out the days an months as the year goes on.

Then came my favorite part!! Making washi tape "event" tags to go on the special events that happen during the year!!


Finally I put it all together. I'll be honest I don't LOVE it...but I really like the idea of a hand stamped calendar and am going to tweak it to fit my style until I do LOVE it! : )

Lastly I created a red ring that signifies what day it is! I will most likely be doing that over...as you can tell the "red" paper I had is suspiciously hot pink! Haha I would like more of a deeper red!