Pages

Showing posts with label DIY. Show all posts

Sunday, March 22, 2015

DIY mini succulent garden


Spring has sprung (although now today is rainy...hmmm such is spring I suppose) so the hubby and I decided to bust out our "green" thumbs and do some yard work/ sprucing. At the moment we rent our home so we wanted to make some curb appeal upgrades that we can take with us when we purchase a home of our own! I am all about the succulent craze so I decided to make my own mini potted garden for the porch. 

{to collect: bucket or large pot, cactus mix soil, different varieties of succulents, shovel, gloves}

Make sure to get cactus or succulent mix, it has all the goodies needed for these desert plants!


I had this great vintage FIRE bucket I have been wanting to use for a long time. Once upon a time my mom gifted it to me with a flower display in it...and my black thumb killed it...so I am trying to redeem myself by replanting something that hopefully I won't kill!


Try and plant your largest succulent first so there is room for all the others. I originally planted it right in the middle, thinking there would be ample room on all side for the others, but ended up moving it since the bucket was a little smaller when I started sticking all the plants in. 
make sure to kind of "fluff" out the roots before adding to the pot so they have an opportunity to spread and take root in their new home!
Add all the rest of the succulents...and not the cacti was NOT an easy fellow to work with!! 
use a folded up roll of newspaper or really thick gardening gloves to transfer a cacti from its small pot to its new home. These guys are NOT afraid to bite!

With anything make sure to use common sense and do not place a display with a sharp cactus near any place where a small child or animal can get into it. The cactus thorns are really, really sharp and have something in them that make their puncture sites itchy! 
No fun for a baby or animal!


I was very happy with the way my little bucket turned out and it has made our porch more homey and pulled together!
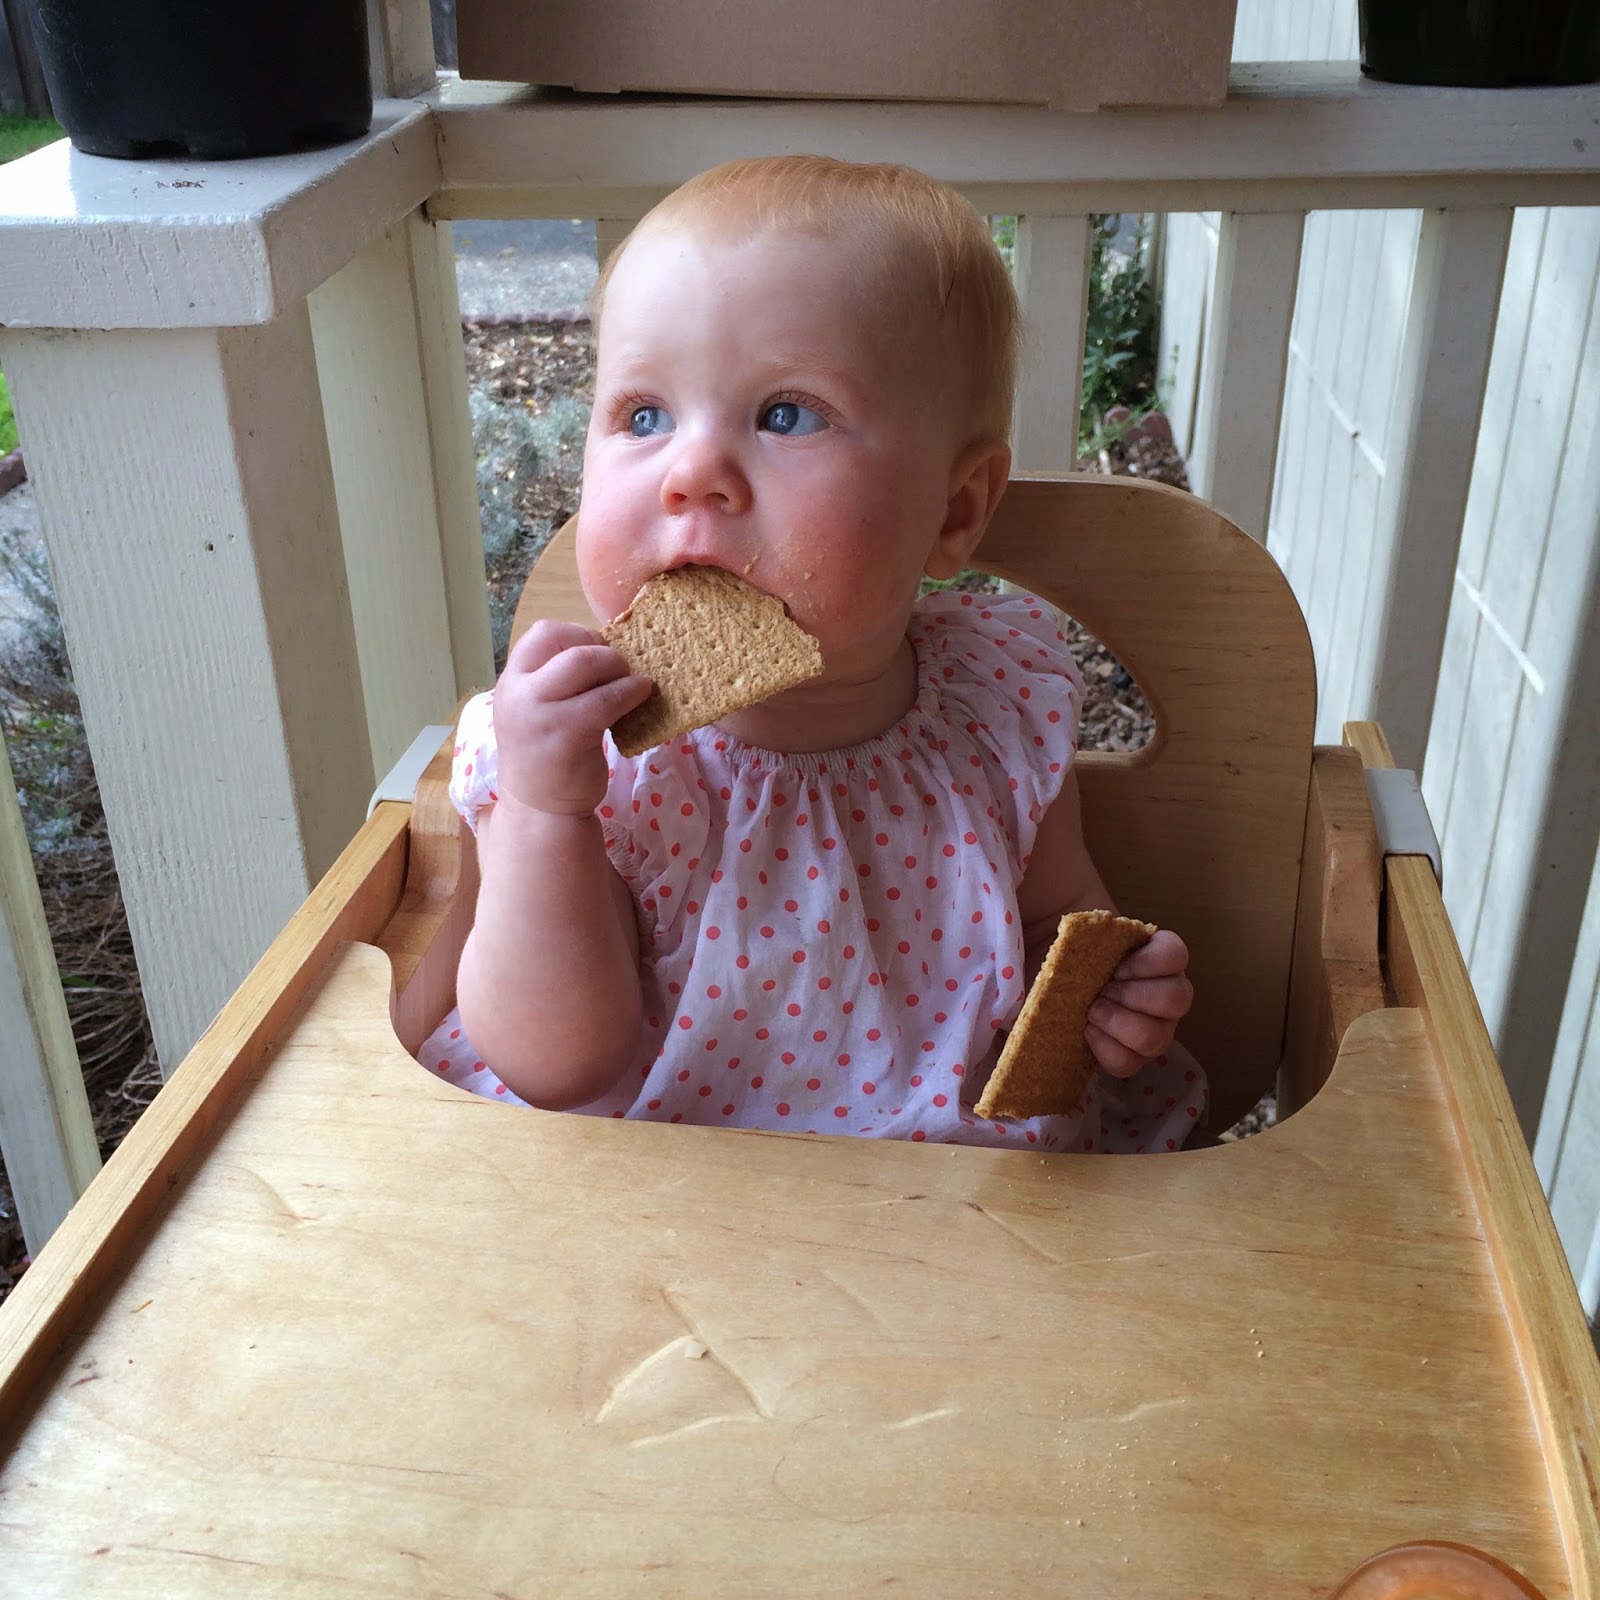
I only had to bribe this little one with 2 graham cracker halves to be patient while I did my planting too
so score!!

Wednesday, January 21, 2015

butternut squash teething biscuits

ridiculously easy homemade teething biscuits (or dog treats for that matter)

Piper is teething and will chew on anything and everything. My iPhone was getting a little slobbery and I had half a leftover baked butternut squash - so these crazy simple biscuits were born!

{Pre-heat oven to 425}
 2 cups whole wheat flour, 1/2 -3/4 C mashed butternut squash (or pumpkin or banana) 2 Tbsp coconut oil, and 4 Tbsp water.


place all ingredients in a large bowl. Mix. And mix and mix and mix. You don't want these to be light and fluffy, you want these suckers to be rock hard. Roll out onto a floured surface with a rolling pin so they are relatively thick (I am a very precise baker, as you can tell)
Cut in fun shapes - a circle! a heart! a christmas tree!
I did the funnest of them all - a scalloped circle. Piper is gonna love it.

Bake for 15 minutes or until rock hard (but not burnt, come on now)
give to baby.

{obvi always supervise your baby while eating, I cannot promise these will not break off in to pieces)
store in airtight jar or tupperware


Piper loved them! I'll be honest though I had to break it in half to let her know it was food and not an actual toy. They are are that rock hard. They gum up nicely and do not break easily. It entertained her for a good 20 minutes while I prepped dinner. Win!!

She dropped the other half on the floor and it took the dog a good 5-10 minutes to play with and eat too so... double win!!

Saturday, December 20, 2014

diy cloth wipe solution


I have written about cloth diapering and how I use cloth wipes as well. Before you call me crazy, hear me out. I think it is easier. You toss the cloth diaper and the cloth wipe into the diaper pail and call it a day. No need to separate out a disposable wipe (and risk touching...well...all the crap)it just all gets washed together.
There are dozens of wipe solution recipes out there but this one is so stupid easy I have just never ever tried another (lazy much?!)

{THE SOLUTION}

  1. Dr. Bronner's baby wash - 2-3 squirts. The baby wash is so mild its perfect for cleaning sensitive little baby bottoms.
  2. Tea Tree Essential oils - I buy mine at Whole Foods, but everyone and their mama is selling oils right now so just look to your left...and to your right...and I'm sure your neighbor and all her friends can sell it to you also. ; ) 3-4 shakes. The tea tree oil prevents mold, prevents diaper rash and soothes any rash that does crop up. It is potent if used directly on baby's skin. *
  3. H20 - enough to fill the tupperware you choose            
*I DO NOT RECOMMEND USING UNDILUTED TEA TREE OIL ON BABY'S SKIN*

That's it. So simple. 
I keep my tupperware in the fridge and the solution lasts about 2 weeks. About every 2-3 days I wet a stack of cloth wipes and divide them between 3 Lunch Skins (aka reusable sandwich baggies). One for the diaper bag, one for her changing table and one for my purse. 

I love Lunch Skins (the yellow one below) because they are the perfect size for the wipes, fit easily in any baby bag or purse and their patterns and colors to choose from are fab! Also they double as a tiny wet bag for the wipes if need be so I always carry an extra empty one for that reason! 


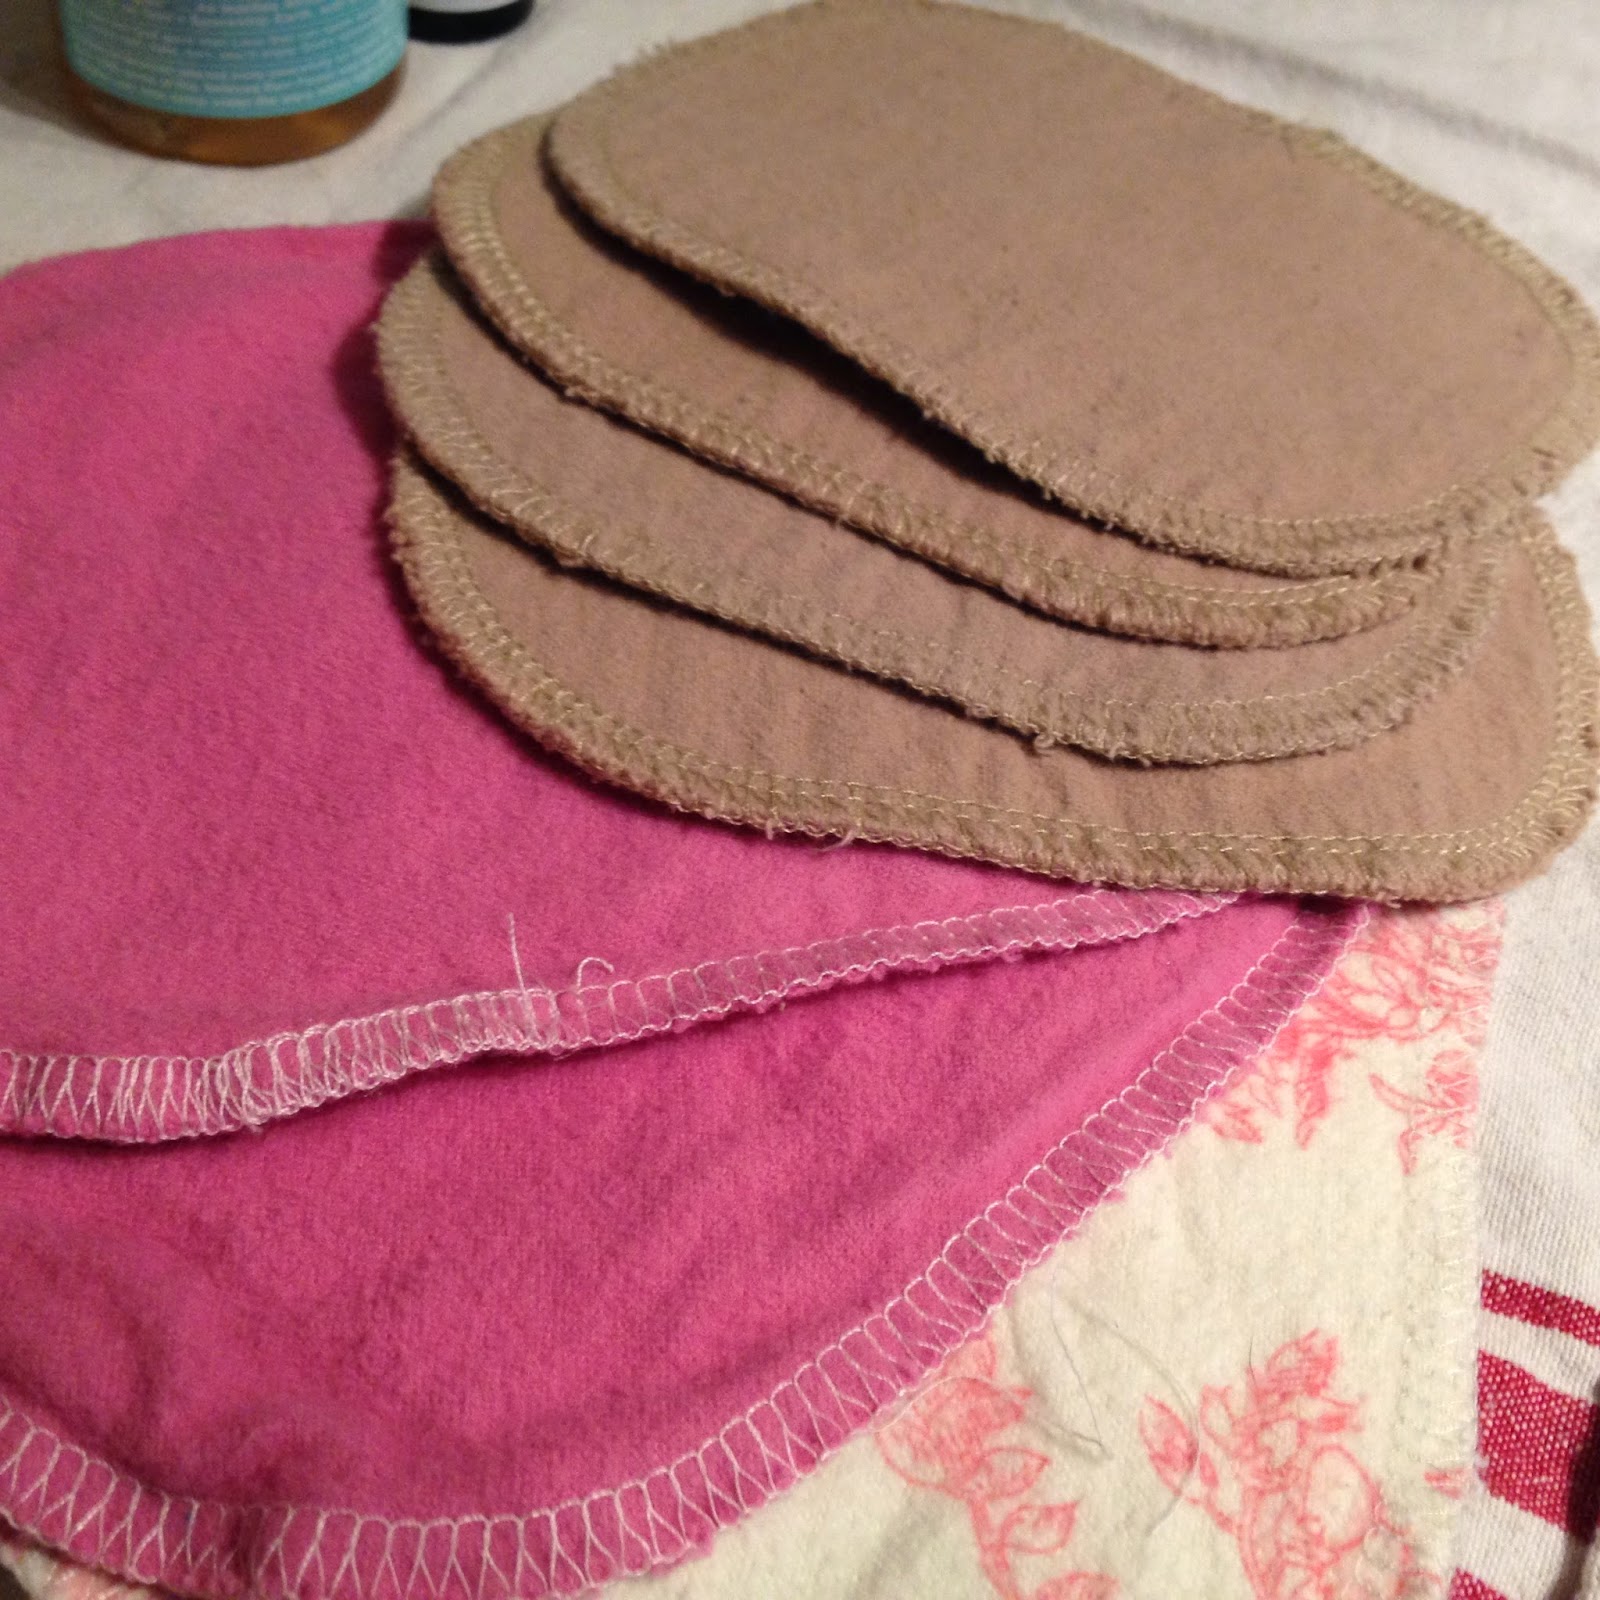
 I exclusively use Family Cloth Wipes sold on Etsy. They are the best IMO. Perfect size, thickness and shape. I love, love, love them. The small ones also fit perfectly in my tupperware so - score!


There you have it. The easiest cloth wipe solution ever. Perfect for a busy mama like me!
 (and all of us really...what mama ISN'T super busy?!)


Tuesday, February 18, 2014

love day party

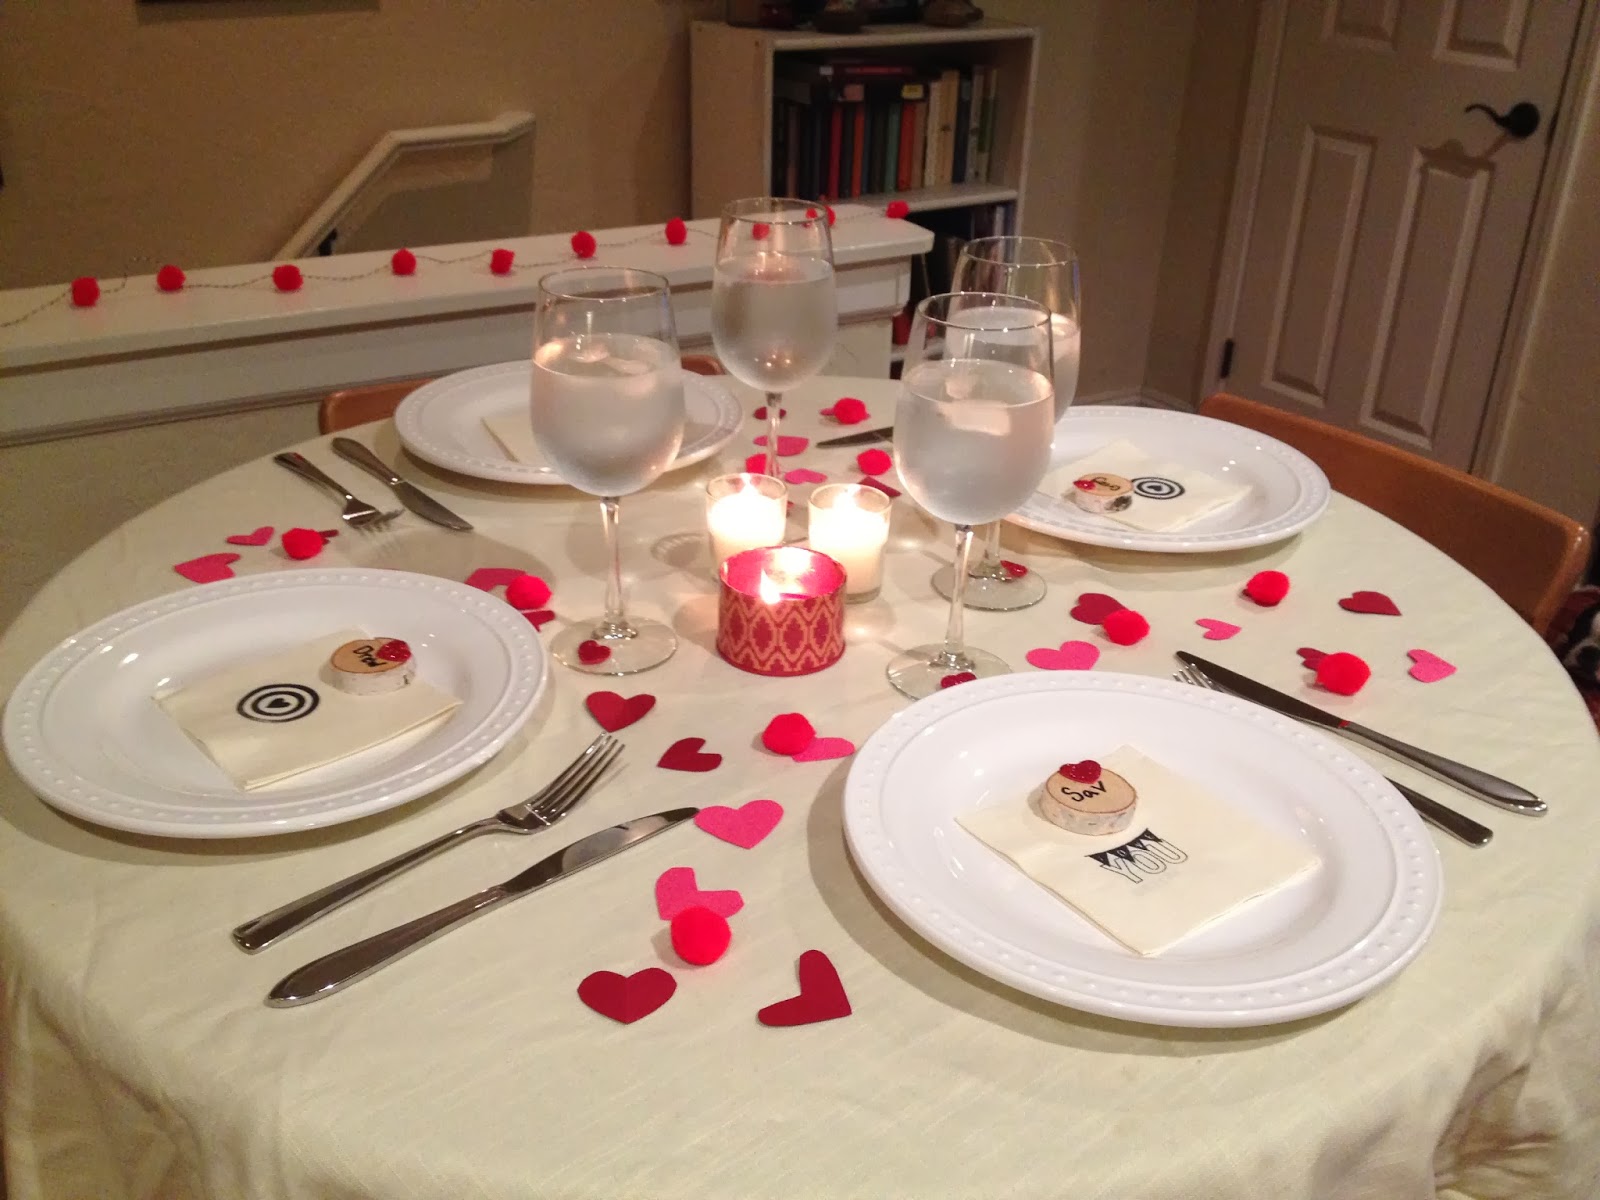
Since this year Valentine's Day fell on a Friday I knew we didn't want to go out. I am not the kind of girl who thinks Valentine's Day is a Hallmark holiday or over rated, I actually rather enjoy it. I love my hubby and I love celebrations of all kinds so it is a fun day for me. But I also knew I didn't want to pay twice as much at a restaurant as I would creating a memorable, fun evening at home!

So me and my sis put together a dinner & dessert for our men that I think rivaled any night out!

My sissy & I had a blast putting all the crafts together for the night a couple days before. These mini wooden rounds we found at Michael's Crafts for $4 for 6 of them.

My man got a small V-Day gift on the 14th but his real present is a brewery tour we will be doing this weekend. But I couldn't resist getting him a little sweet the day off!

I don't know how the hubby could have picked better presents for me! A cupcake & a new book?
Swoon.

We opted for catering instead of slaving away in the kitchen, so we ordered out from a local Italian deli since both my sis and I worked all day. It was super tasty and made us feel special too because we didn't have to cook!

The men had cocktails and beer while the ladies sipped water and coffee.


For dessert my sister whipped up a Tiramisu Fondue recipe copycat from The Melting Pot (recipe coming tomorrow!) The hubby & I are not huge fondue people but we both agree this one was out of this world! So good!


I am so glad we all decided to stay in and enjoy a fun evening at home. It was just as yummy, just as romantic and just as special as any night out and the personal touches really made the night!

Tuesday, September 17, 2013

stenciled calendar DIY

This project has been in the works for quite sometime. I was tempted to start over or re-do some of it when it smudged or otherwise turned out differently than I expected, but I ended up just leaving it as is. Which I kind of like now. I like that not all the squares are the same size and that there are ink lines on some of the stamped portions. It definitely looks homemade and it is definitely different than what I started out trying to accomplish, but I really like the outcome!


I originally envisioned the calendar just on the wall itself somehow, perhaps with twin or something but then I remembered I have this fab XL clipboard that my ex-roomie Ali from Ballpoint + Pen (from before we were all old married ladies!!) left behind when she moved out years ago! I have always wanted to do something with it so I figured why not make a calendar out of it?


I basically started out cutting and stenciling all the things I would need - days of the week, months, 1-31 number squares. I used Martha Stewart Typewriter Alphabet stencils. These are my favorite stencils to use because they are slightly adhesive so they stick to the paper and you don't get hardly any of that annoying bleeding paint.


I love stenciling so I didn't think it was too bad and I have TERRIBLE handwriting! Haha so I have no choice but to stencil. But I am sure there are ladies out there with amazing cursive or print that could do a way better job free handing it!


I ended up using tiny paper clips to hold all the interchangeable part on. It was the most practical thing I could think of and thought it might add cute element to it as well.

I glued the days of the week directly onto the clipboard, but with hot glue so I can always remove them later if I choose and use the clipboard for something else entirely!!

 Next I hot glued tiny clothespins to the board in (semi) even spacing so that I can swap out the days an months as the year goes on.

Then came my favorite part!! Making washi tape "event" tags to go on the special events that happen during the year!!


Finally I put it all together. I'll be honest I don't LOVE it...but I really like the idea of a hand stamped calendar and am going to tweak it to fit my style until I do LOVE it! : )

Lastly I created a red ring that signifies what day it is! I will most likely be doing that over...as you can tell the "red" paper I had is suspiciously hot pink! Haha I would like more of a deeper red!